
Revit CFD Simulation: Prepare geometry from Revit and run CFD in tensorHVAC-Pro
Revit CFD Simulation: Prepare geometry from Revit and run CFD in tensorHVAC-Pro
ARTICLESFEATURES
Wiratama
11/12/20252 min read
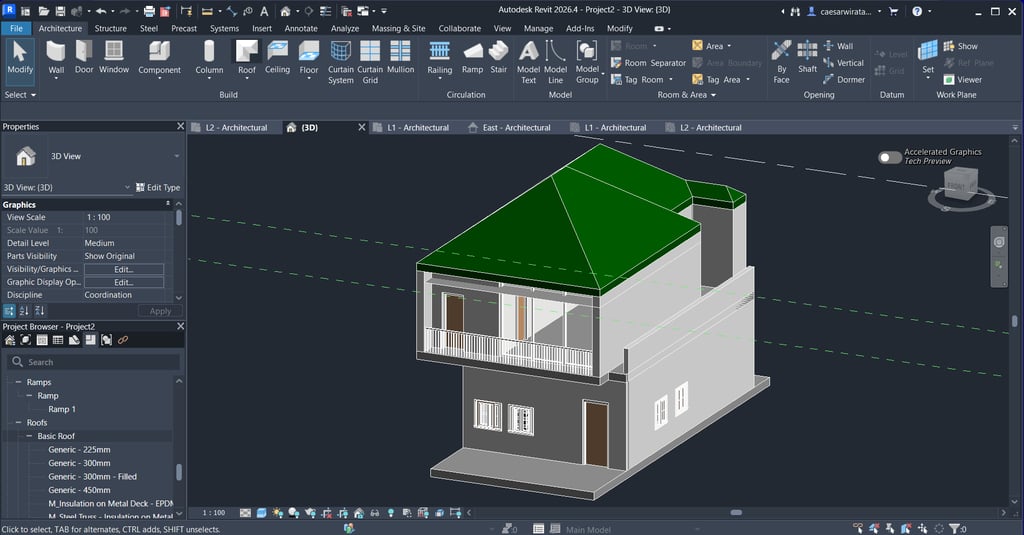

Preparing Your Revit Geometry for HVAC Simulation
Before diving into the intricate world of HVAC system simulations, it is crucial to prepare your Revit geometry meticulously. This initial phase involves defining the surfaces that will serve as inlets or outlets for your HVAC system. Adequate attention to detail during this preparation stage will ensure a smoother simulation process later on. Make sure to check that all surfaces are appropriately aligned and tagged to facilitate seamless interaction with subsequent software.
Exporting Revit Geometry to STL Format
Once your geometry is thoroughly prepared, the next step is to export it in STL format, which is widely recognized for its compatibility with various simulation tools. This format is vital for maintaining the geometric integrity of your model when transitioning into simulation software. When exporting, double-check the settings to ensure that all relevant elements are included and that the file size is manageable for import into the next program.
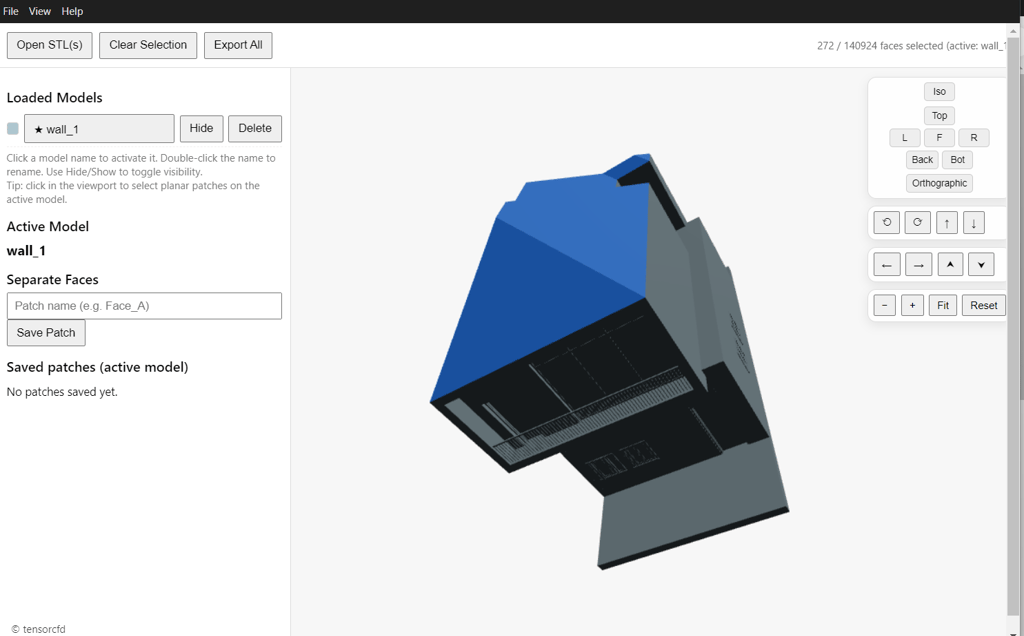
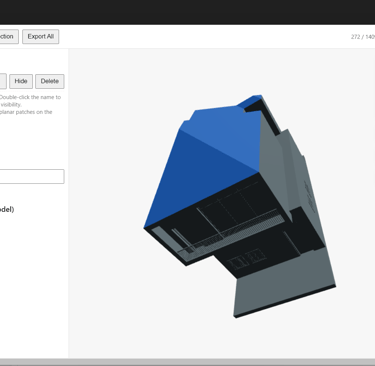
Importing STL into tCFD-Pre for Boundary Selection
With your model now saved as an STL file, the next step involves importing this file into TCFD-PRE. This software allows you to select specific surfaces as boundaries, a crucial task that influences the accuracy and reliability of your HVAC simulation results. Depending on your project requirements, you might need to define various conditions, such as temperature or pressure values across these boundaries. Properly setting up these parameters will ensure that your simulation runs as expected and produces accurate results.
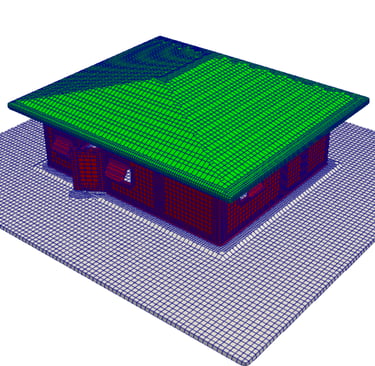
Meshing and Setting Up Your Simulation in TensorHVAC-PRO
After successfully defining the boundaries in TCFD-PRE, the focus shifts to meshing your model. Meshing is a critical aspect of the simulation process, as it divides your geometry into smaller, manageable elements that the software can easily analyze. It is essential to strike a balance between a fine mesh for accuracy and a coarser mesh to speed up the simulation, particularly if your model is complex.
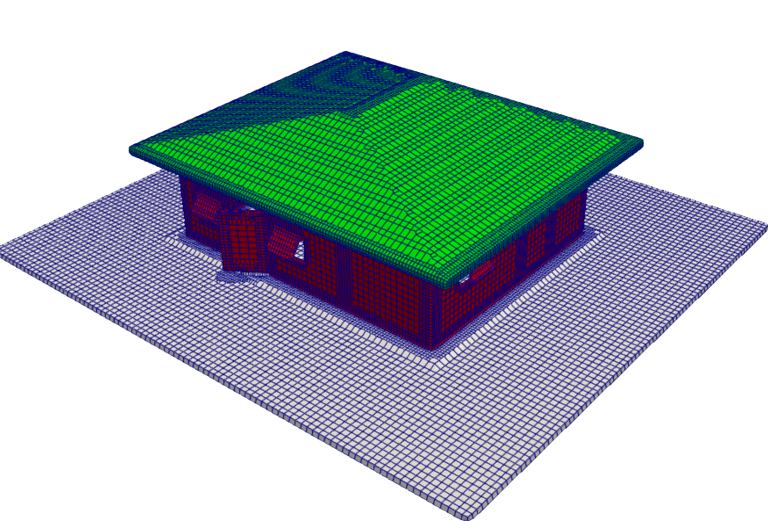
Once your meshing is complete, you can proceed to set up and run the simulation in TensorHVAC-PRO. This powerful tool is designed specifically for accurately simulating heating, ventilation, and air conditioning systems, providing a detailed analysis of airflow, temperature distribution, and overall HVAC efficiency. Ensure that you input all necessary parameters correctly to extract meaningful insights from your simulation results.


In conclusion, simulating HVAC systems from Revit geometry involves a step-by-step process that demands attention to detail at each stage. From preparing your geometry and exporting it to STL format, to importing into TCFD-PRE, defining boundaries, meshing, and finally running your simulation in TensorHVAC-PRO—each task contributes to achieving reliable and actionable results.
tensorHVAC-Pro is a dedicated HVAC flow and thermal simulation software, Intuitive and easy to use, designed for HVAC engineers - not CFD expert. Learn more..
Read more tensorHVAC-Pro features