
Solver Setup in tensorHVAC-Pro
How to set the solver setup in tensorHVAC-Pro
USER-GUIDE
10/7/20252 min read
The Solver Setup section in tensorHVAC-Pro 2025 allows you to define how the simulation will run over time and how the software uses your computer’s processing power. These settings determine how long the simulation will last, how often results are saved, and how efficiently the solver runs using multiple CPU cores. The interface is kept simple, so you can start a simulation without needing to adjust complicated solver parameters.
To begin, enter the Start time (s) and End time (s). These values define the duration of your simulation. The start time is typically set to 0 seconds, meaning the simulation begins from the initial state you have defined. The end time represents how long the airflow and temperature will be computed. For instance, if the end time is set to 2000 seconds, the solver will simulate conditions over that time period. In most HVAC applications, a few thousand seconds are usually enough to see the flow stabilize inside the room.
The deltaT (s) parameter controls the time step between each calculation. It defines how often the solver updates the airflow and temperature in each step of the simulation. A smaller deltaT gives more detailed and accurate results but increases computation time, while a larger deltaT makes the simulation faster but less precise. For example, setting deltaT to 1 second means the solver calculates new flow and temperature fields every one second of simulated time.
The writeInterval defines how frequently the solver saves the results during the simulation. For example, if you set writeInterval to 200, the program will save data every 200 seconds of simulated time. This setting helps manage the amount of data stored on your computer — saving too frequently may create many files, while saving too rarely may make it harder to track changes over time. For most HVAC cases, using a write interval between 100 and 300 seconds provides a good balance.
Under the Parallel Running section, you can choose the number of processor cores to use for the simulation. Modern computers have multiple cores, and using more of them allows tensorHVAC-Pro to run the simulation faster. For example, entering 8 means the solver will split the computational work across eight cores simultaneously. If you are running on a laptop, using fewer cores (like 4) may be preferable to keep your system responsive, while powerful desktop or workstation users can allocate more.
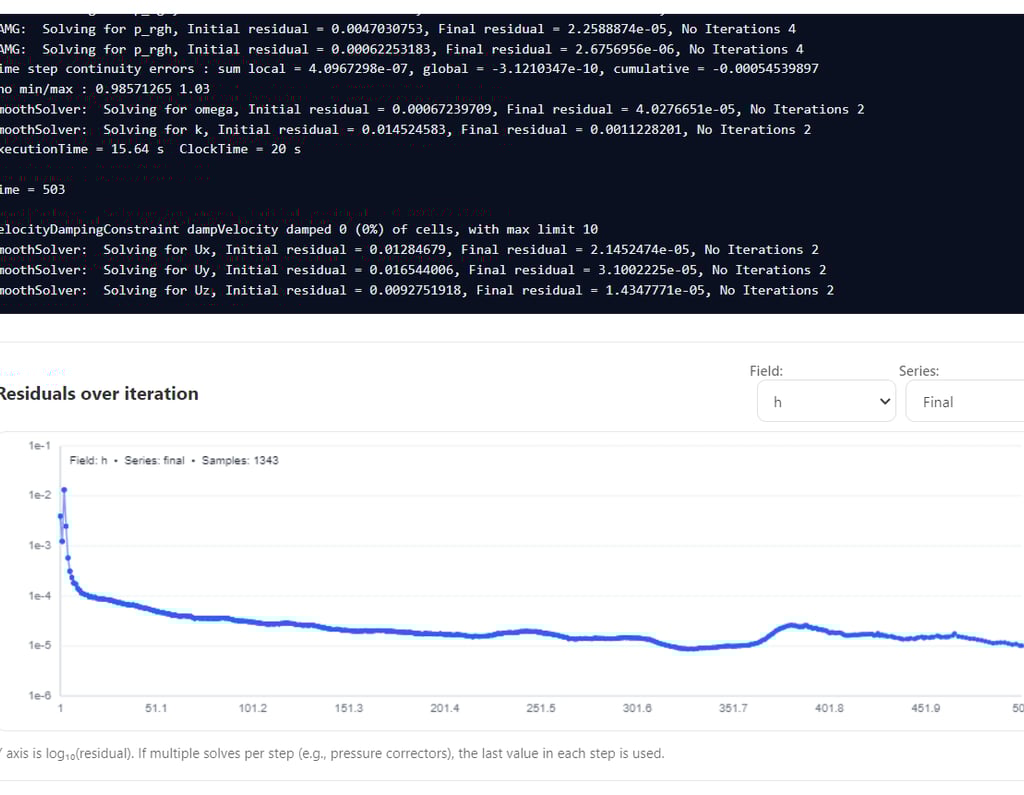
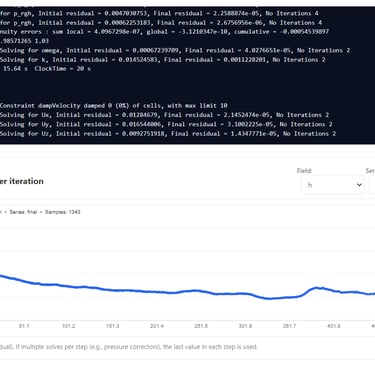
After entering all the solver parameters, click Save solver settings to store your configuration. When ready, press Start Running to begin the simulation. The progress and messages from the solver will appear in the Run log window below. This section shows live updates about the simulation’s progress, including time steps and convergence information. If you need to stop the simulation at any point, press the Stop button. The Clear log button removes previous messages from the display, while Clear results deletes existing output data so you can rerun the case with fresh settings.
In summary, the Solver Setup section lets you control the simulation’s duration, precision, and computational speed. You define the start and end times to determine how long the simulation runs, deltaT for the time resolution, writeInterval for data saving frequency, and the number of cores for performance. Once configured, you can easily launch and monitor your HVAC simulation through the same panel.
Back to User Guide